Manual / Create and adjust apps
Create and adjust apps
Describe what you want in plain language. Monad writes, shows and adjusts with you.
Your first app
- On the home screen, write what you want in the "Ask Monad to build…" field. Example: "A website for my barbershop with opening hours and a WhatsApp button".
- Send it. Each file written and each command appear as a card in the conversation.
- When it finishes, the panel on the right shows the app's preview working.
- Ask for adjustments in the same conversation: "Change the main color to green", "Add a contact page".
Already have a project? Use Import app, below the message field.
Start from a template
Instead of starting from scratch, open Templates (the store icon in the menu on the left) and choose a starting point: the React.js template (React, Vite, Shadcn, Tailwind and TypeScript) or the Dashboard, among others.
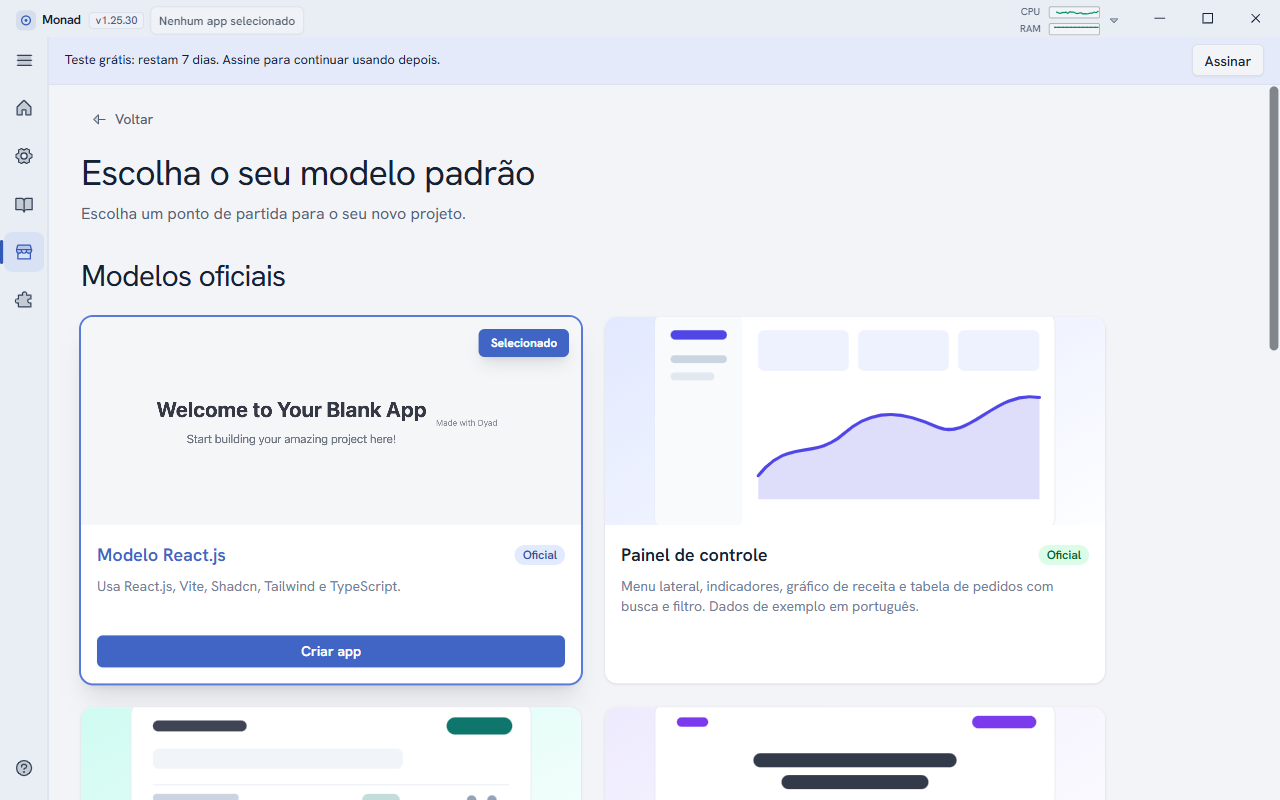
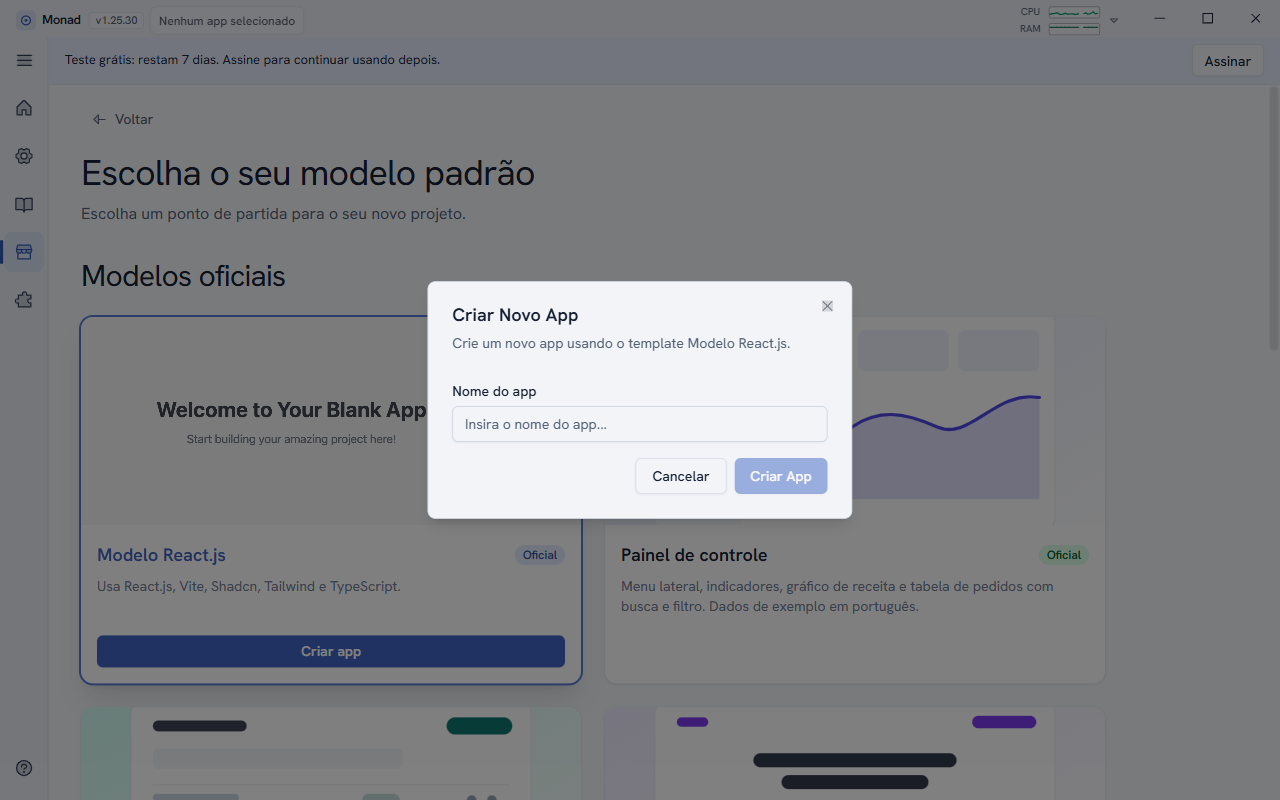
Click Create app, give it a name (Monad shows the name of the folder that will be created) and confirm.
The conversation modes
The mode is on the left, in the message field's bar (by default, Agent).
| Mode | What it does |
|---|---|
| Agent | The AI plans, uses tools, can delegate to helpers, run commands and check the result. It is the most complete mode; it uses the chosen model and its provider's billing. |
| Plan | Builds a plan for you to approve before building. |
| Build | Generates and edits the app's code. |
| Ask | Only answers questions about the app, changing nothing. |
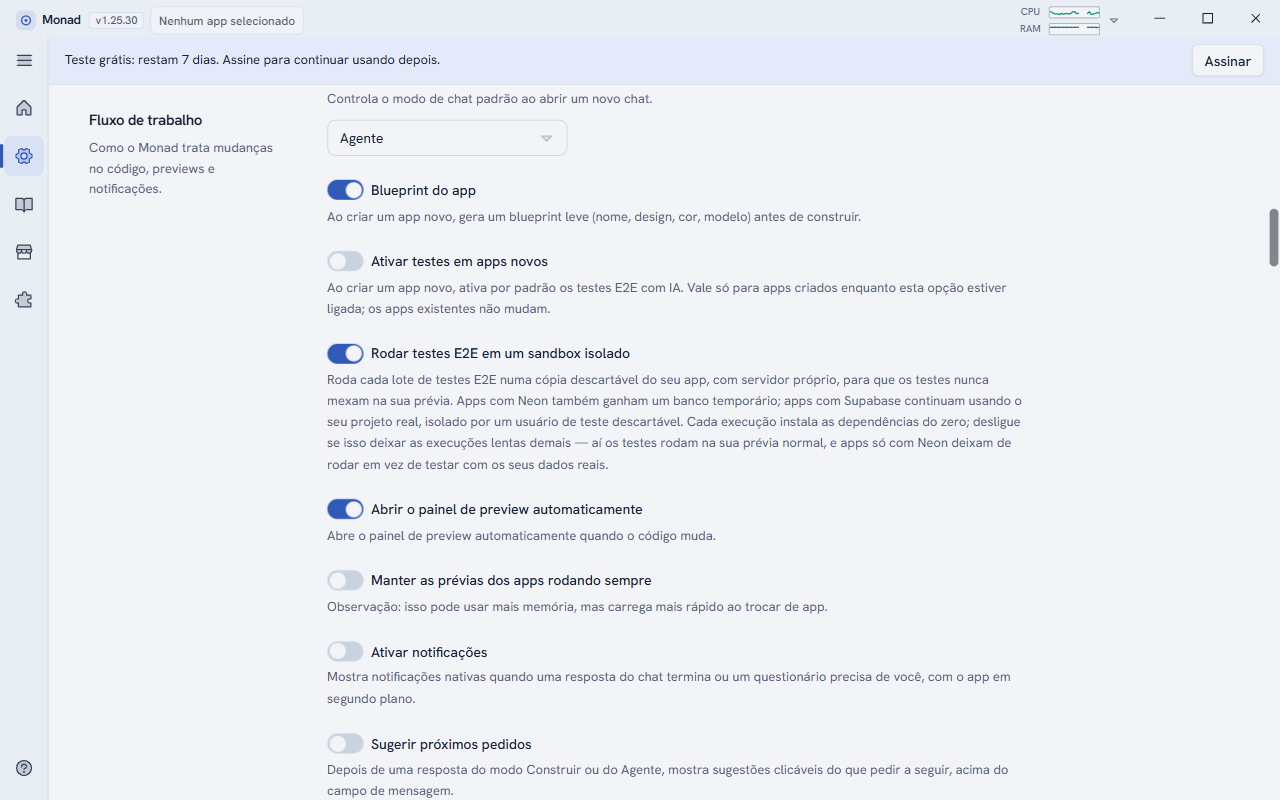
The mode that opens in new conversations is set in Settings > Workflow > Default chat mode.
Suggested next requests
After a Build or Agent response, Monad can show buttons with suggestions for what to ask next, above the message field. Click to send. To turn them off: Settings > Workflow > Suggest next requests.
Attachments
Use the + button in the message field (or drag the file) to attach images, PDF, text, CSV spreadsheets and .zip files.
- Images: the AI sees the content. In long conversations, only the most recent images go to the model in full; older ones are replaced by a note and the AI can reopen the attachment if it needs to.
- .zip: the file is unpacked for the AI, which can list and read what is inside. There are size limits to protect the computer; if you go over, Monad tells you which file is too large.
- .env: the values are hidden from the AI; it sees only the key names.
The wand next to the field (Improve prompt) rewrites your request more clearly before sending. The microphone (Voice to text) needs a provider key that offers transcription.
Rules for each app
Each app has an AI_RULES.md file (you can see it in the Code tab) with guidance the AI always follows in that project: style, technologies, what to avoid. If the app came from another tool and does not have this file, Monad uses the project's AGENTS.md or CLAUDE.md instead.
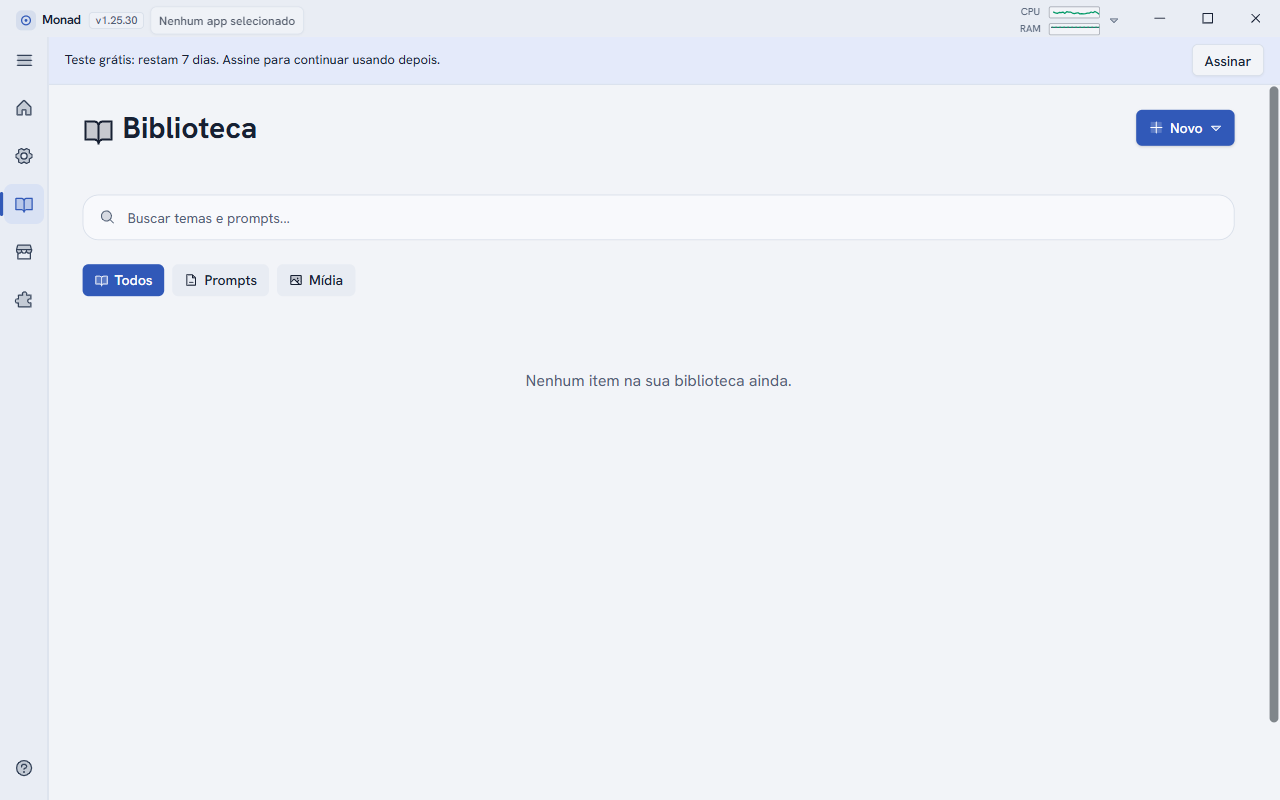
Library
The Library (the book icon in the menu) holds your saved themes and prompts, and media. Use the search at the top or the All, Prompts and Media filters; the New button adds an item.